In the previous post, I created two files, HTML and JavaScript to show popup dialog from an Edge extension icon and to add a button event.
Now, let’s go on next step with following the instructions below.
Tutorial part 2: Use JavaScript to insert an image in the webpage
3. Expose the image as a resource
The Edge Extension must expose images as resources to be used by all web browser tabs. In this case, the extension acts as a server, and the client is the web browser tab.
To expose the images as resources, let’s add an entry below to the manifest.json.
Please see the link that includes the complete manifest.json,
How to Create manifest.json for Edge Extensions
"web_accessible_resources": [
    {
        "resources": ["images/*.jpeg"],
        "matches": ["<all_urls>"]
    }
]web_accessible_resources: a setting that makes resources managed by the Edge extension accessible from web pages.
4. Create a Content Script to Inject
4.1 Define “content_scripts” in the manifest
The extension has an ability to send(inject) a script to the specific web browser tab (URL) and run it in the tab as an extended script.
To do so, let’s add an entry below to the manifest.json. So that you can inject scripts to the specific browser tabs.
"content_scripts": [
    {
        "matches": ["<all_urls>"],
        "js": ["lib/jquery.min.js","content-scripts/content.js"]
    }
],
In this section, two JavaScript files will be injected into the target page:
lib/jquery.min.js: The jQuery library.content-scripts/content.js: A user-created content script.
All script files declared in “content_scripts" are injected into all browser tab pages when each tab is loaded.
4.2 Download and save the jQuery library
Go to the link and click on the Download raw file to download the file.
Create the “lib” folder in the extension project and save the file as “jquery.min.js” according to the manifest.
4.3 Create the Content Script to Inject
Let’s define the JavaScript content file.
Create “content-scripts” folder in the extension project and save the file as “content.js” according to the manifest. This script will run in the client web browser tab page as an extended script.
This code adds a listener. Once it gets the message, it add an image to the top of the body, and add style to the head. There is a click event definition to remove the image.
chrome.runtime.onMessage.addListener(function(request, sender, sendResponse) {
    $("body").prepend(
        `<img  src="${request.url}" id="${request.imageDivId}"
               class="slide-image" /> `
    );
    $("head").prepend(
        `<style>
          .slide-image {
              height: auto;
              width: 100vw;
          }
        </style>`
    );
    $(`#${request.imageDivId}`).click(function() {
        $(`#${request.imageDivId}`).remove(`#${request.imageDivId}`);
    });
    sendResponse({ fromcontent: "This message is from content.js" });
});
5. Install and test the extension
Now you’ve got all files developed.
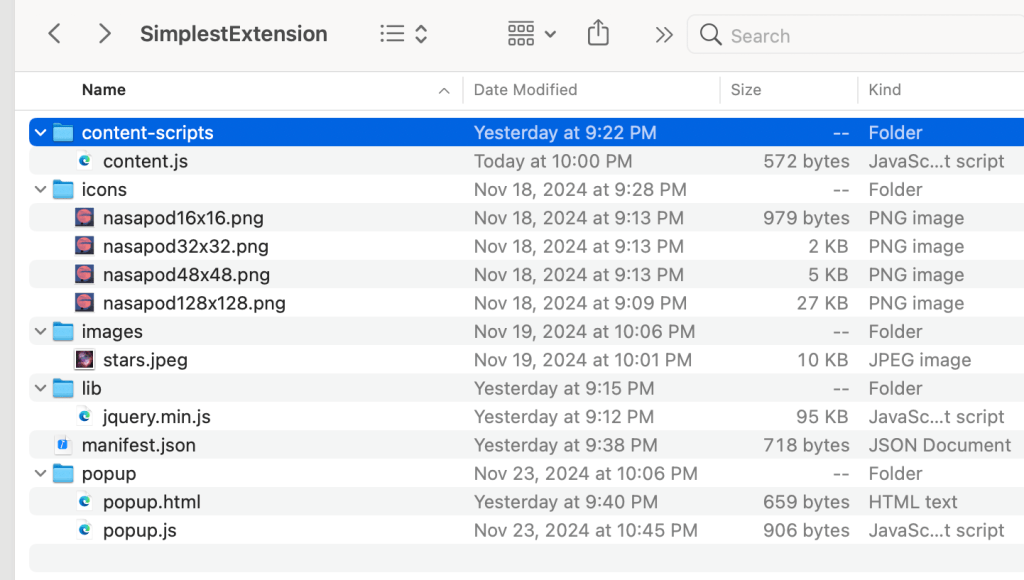
The project folder structure looks like this. (This project is a continuation of part 1.)
Follow the link below and install the extension in your local Edge.
You will get the NASA image
How to install extension project into Edge browser as a local test

Leave a comment